
KeyCloak: Setup(4)
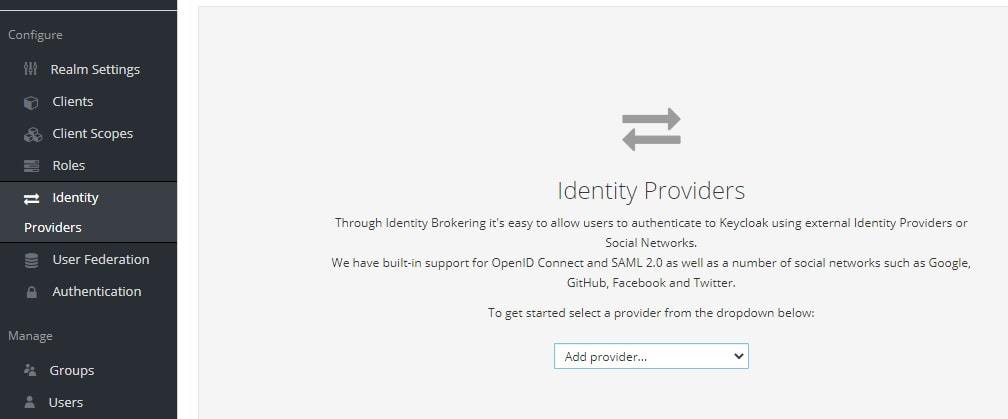
ID ProviderとしてGoogleを利用する設定を行う。Google Developer Consoleから設定すればいいようだ。まずはKeyCloakでID Providerの新規登録を進める。
Google Developer Consoleにログインして、新しいプロジェクトを作成する。
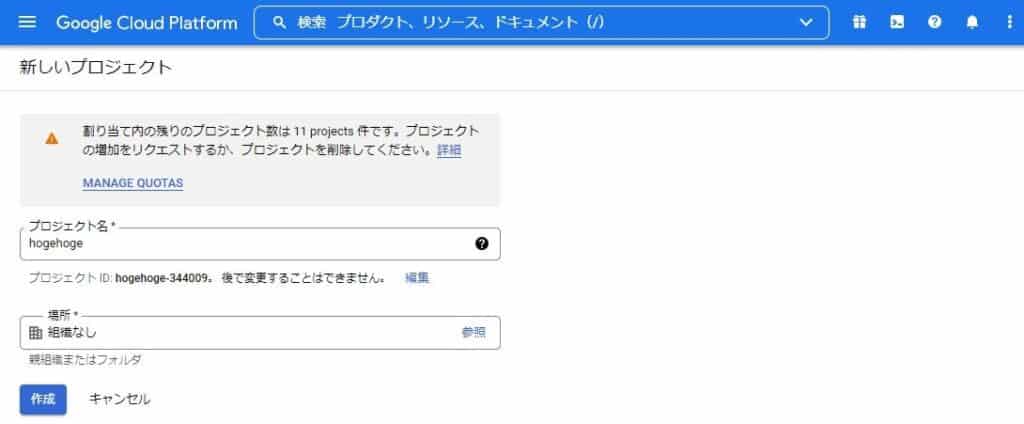
Setup New Project (Google Developer Console)
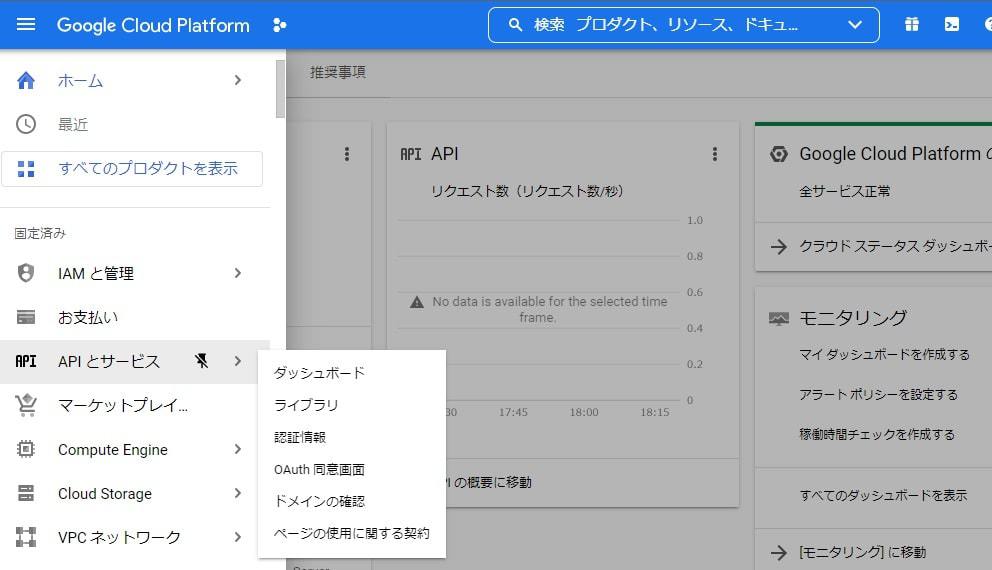
APIサービスを有効化するために「APIとサービス」のダッシュボードに移動する。
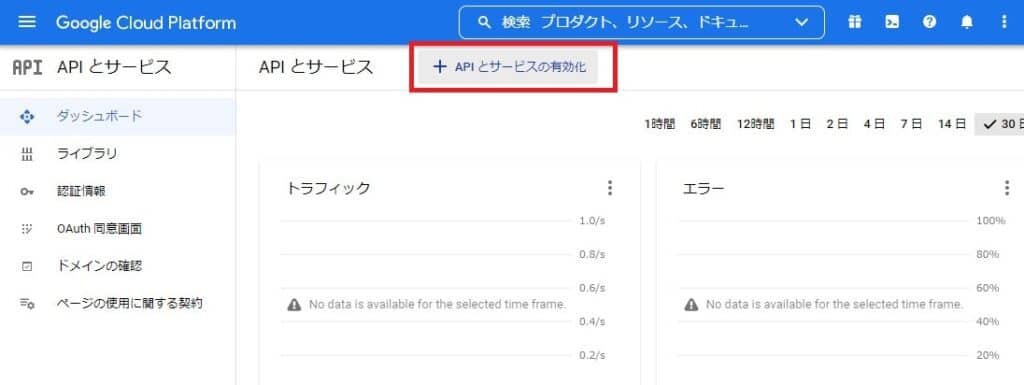
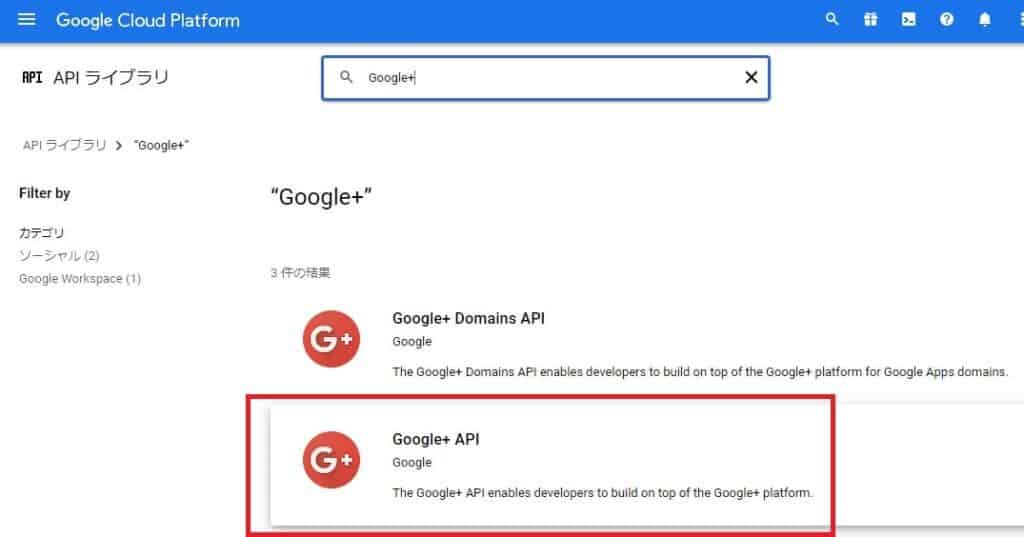
「APIとサービスの有効化」からAPIの有効化を進める
Google+ APIを利用可能なようにする。
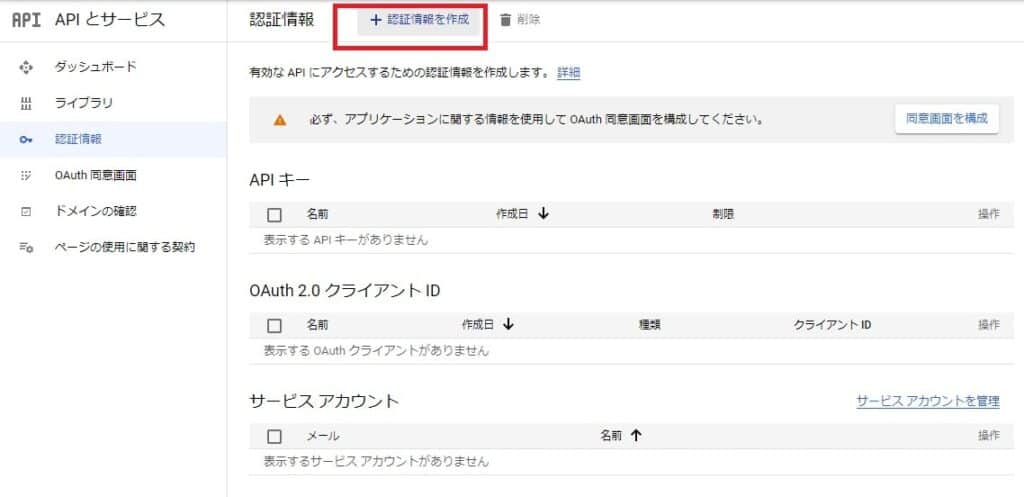
認証情報を作成よりKeyCloakのEND POINTを設定した認証設定を行う。また、Googleの方で生成されるクライアントシークレットやクライアントIDをKeyCloakに設定する。
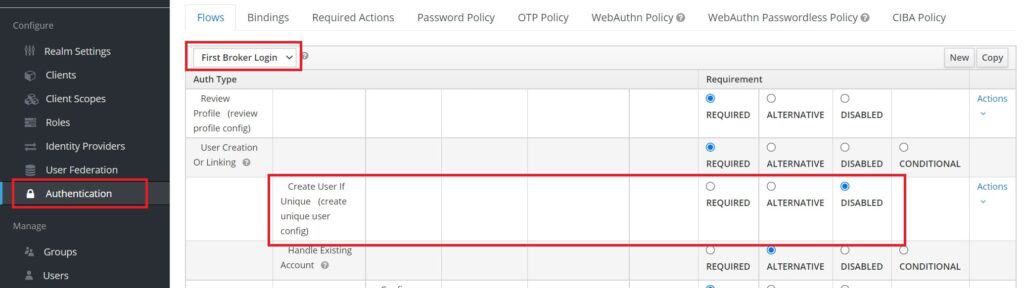
設定を終えればGoogleアカウントでログインが可能になるが、未登録ユーザがGoogleアカウントでログインしようとするとKeyCloakに登録されてしまう。ユーザ登録は管理者で制御したいのでCreate UserをDISABLEDに設定する。
ユーザのパスワードを削除してしまえば、Googleアカウントのみでログイン可能なユーザを作ることが出来る。KeyCloakでTOTP認証なども簡単にできるが認証はIdentity Providerに任せてしまった方が楽だろう。